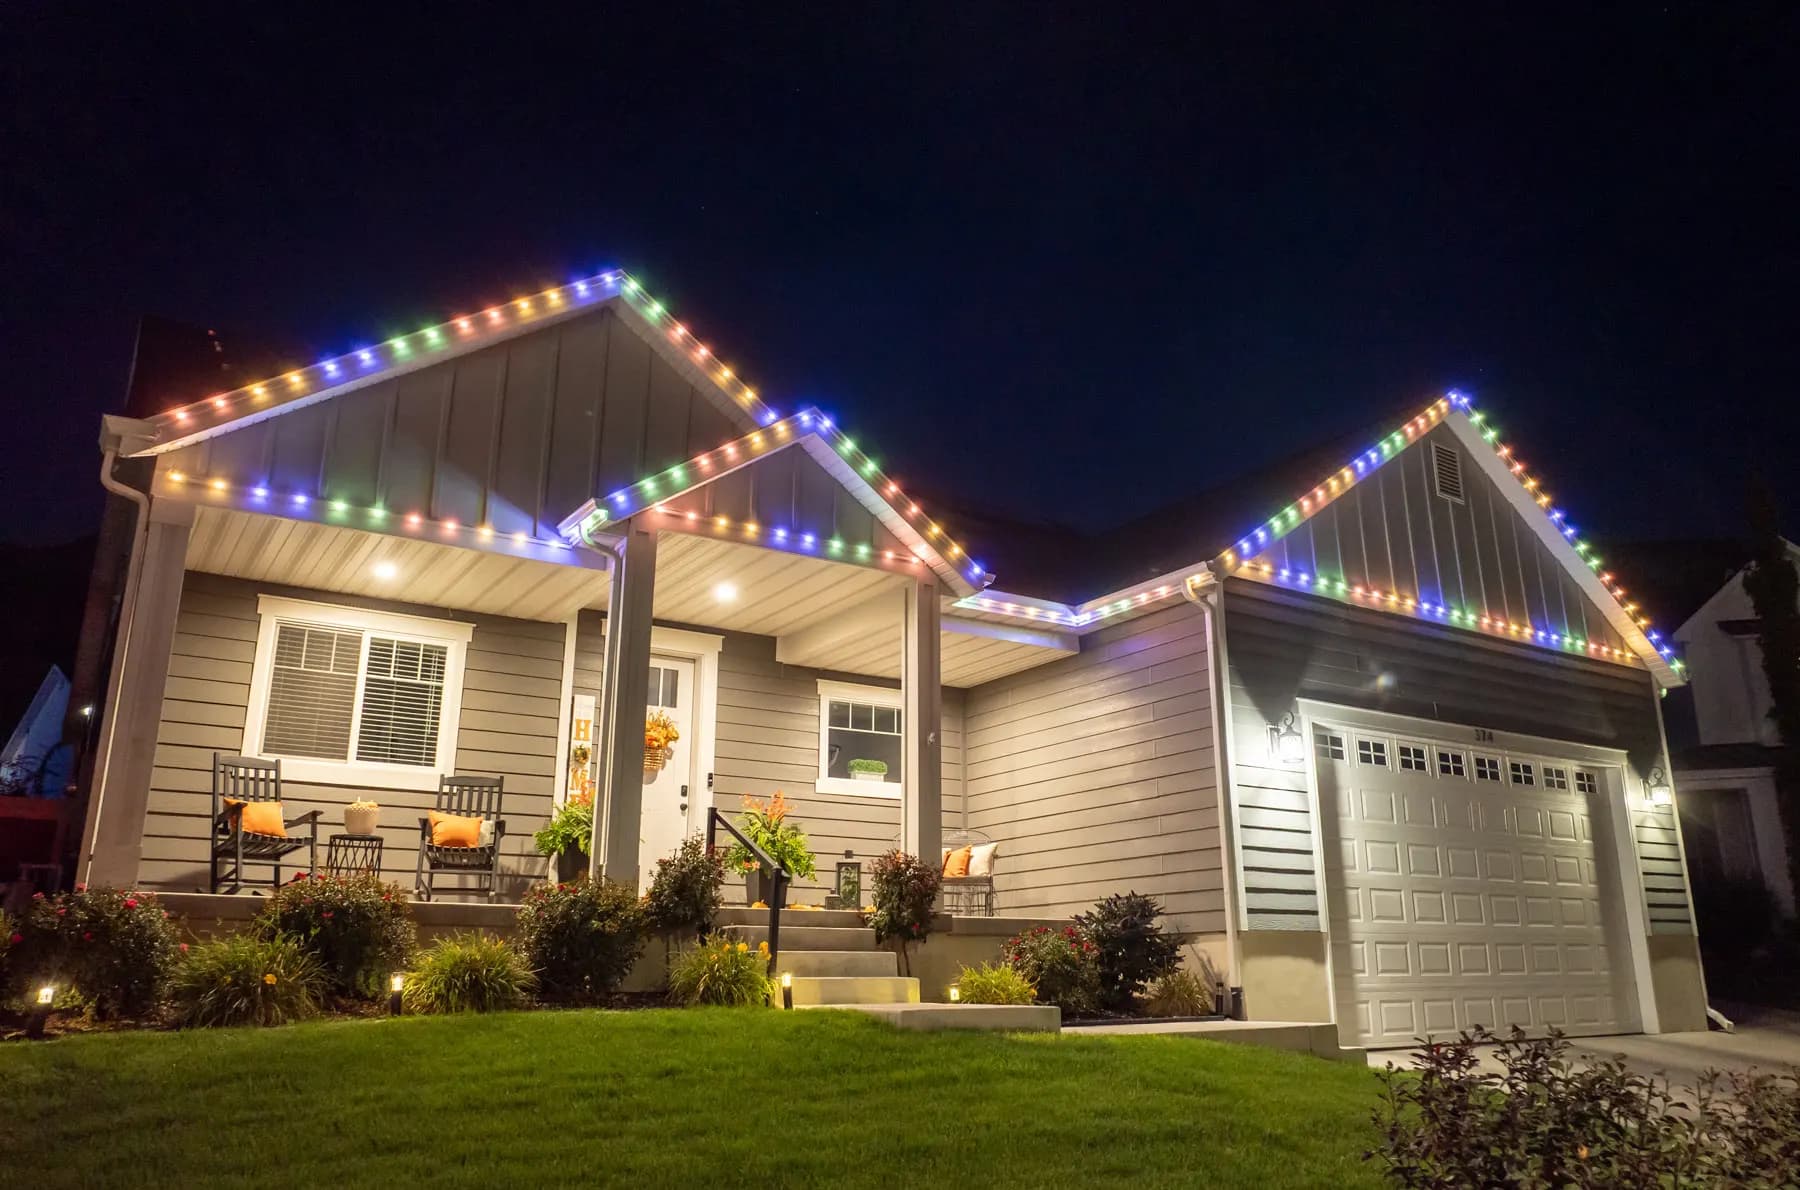
How it works
From box to roofline in a weekend.
Our kits are designed so a comfortable DIYer can put up a professional-grade permanent lighting system with a drill, a ladder and a free Saturday. Here is the whole process.
01
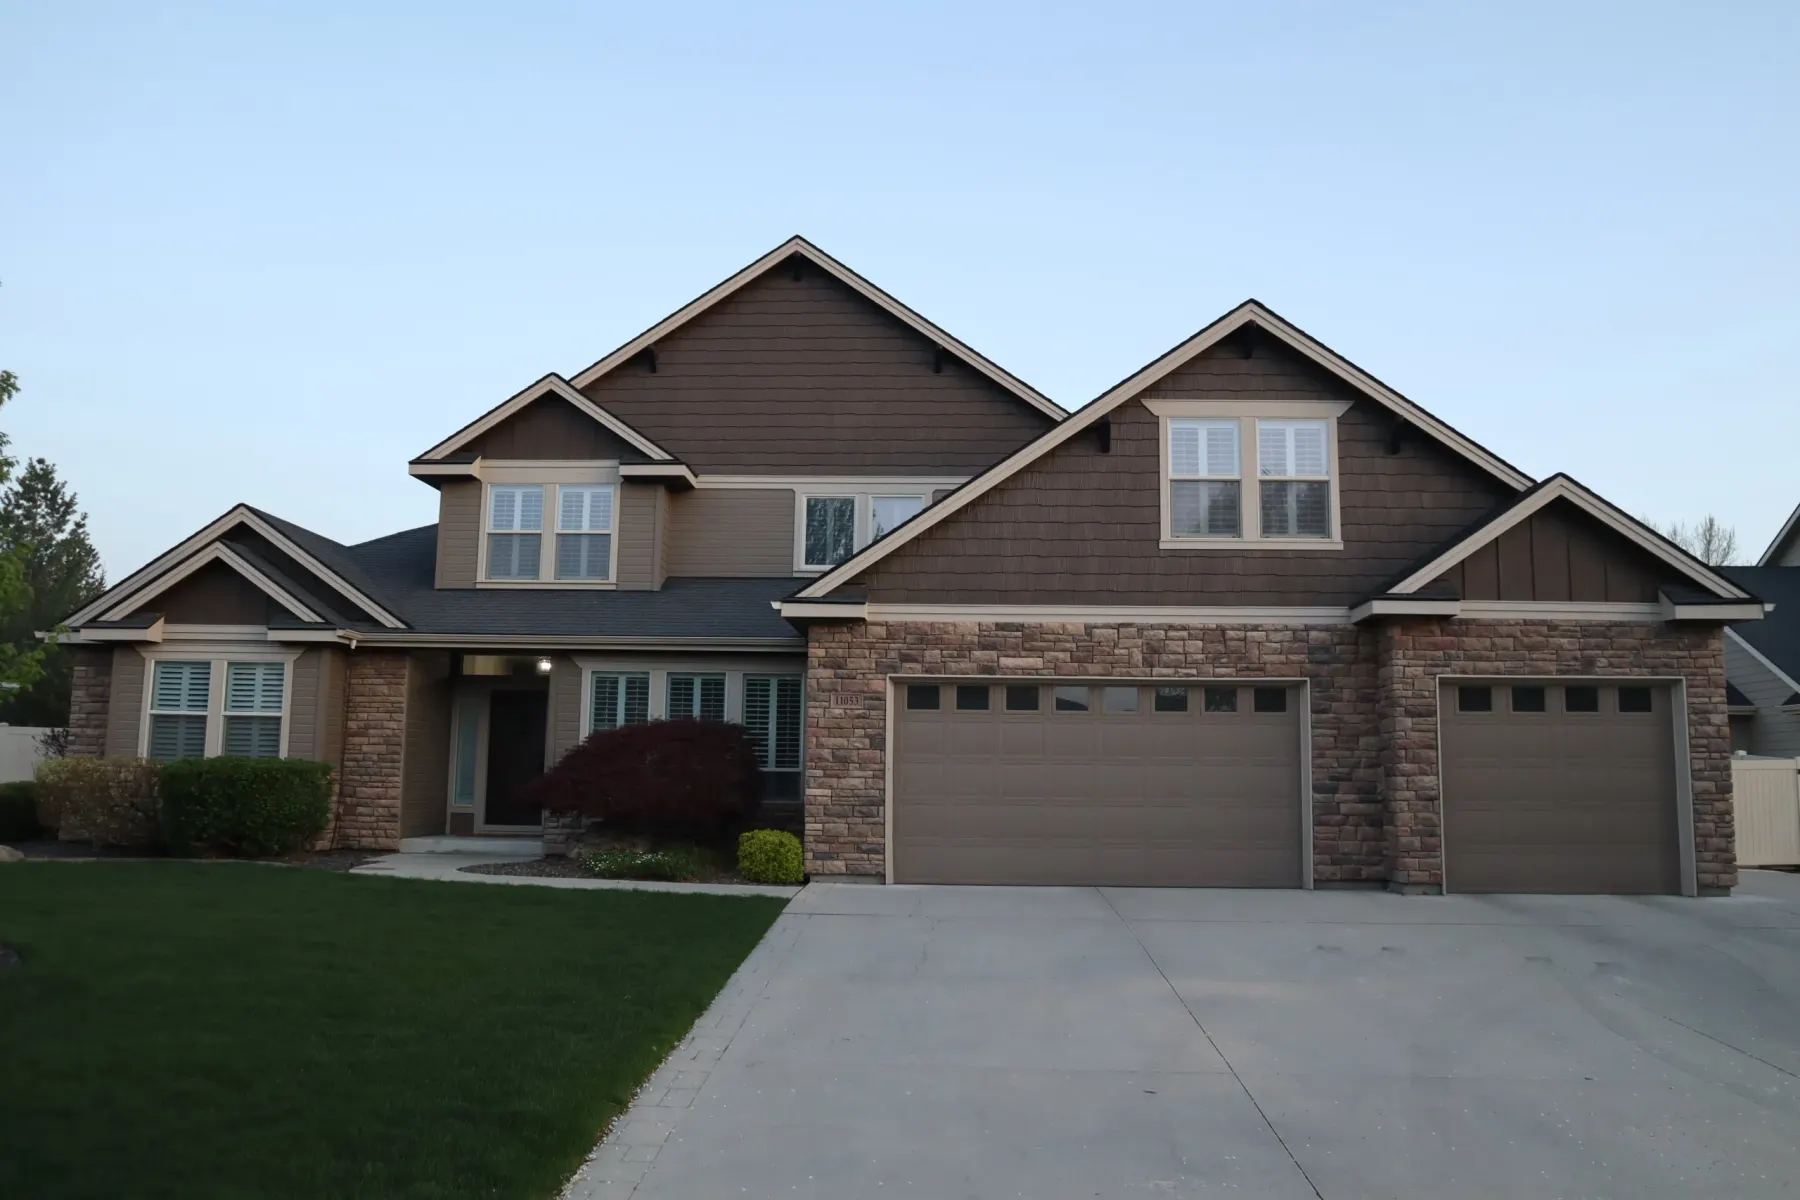
Measure and pick your kit
Walk the house with a tape or a laser measure and add up every roofline, gable and soffit edge you want lit. Include the gaps you will bridge with connectors. Kits come in 50, 75, 100, 150, 200 and 250 ft; round up.
Tip: A typical bungalow front is 50 to 75 ft. A two-storey front plus both sides is usually 150 to 200 ft.
02
Unbox and lay it out
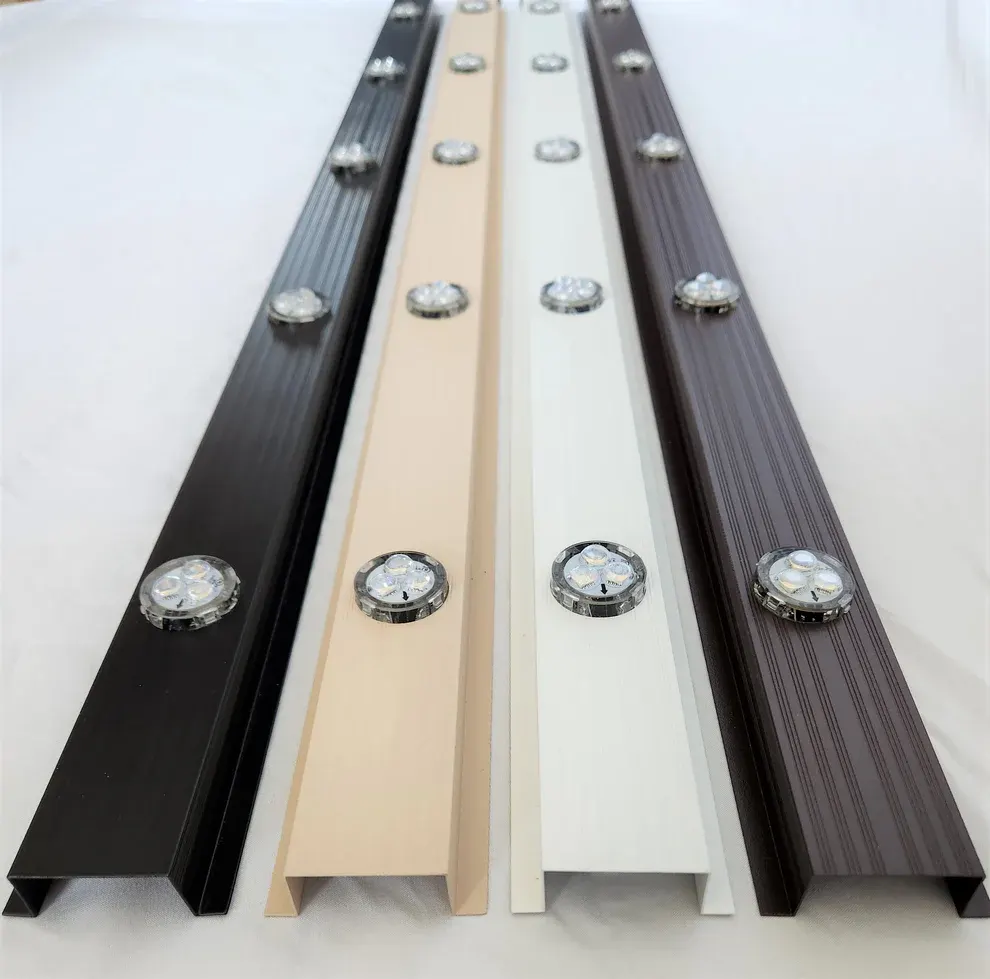
Everything arrives in one shipment: 12V RGBW puck strands, 42-inch aluminum track in your colour, the WiFi controller, power supplies, extension connectors in 1, 5, 10 and 20 ft, T-connectors, power-injection cables, colour-matched screws and spare fuses. Lay the run out on the driveway first.
Tip: Decide where the controller lives (garage or a sheltered outlet) before you mount anything.
03
Mount the track
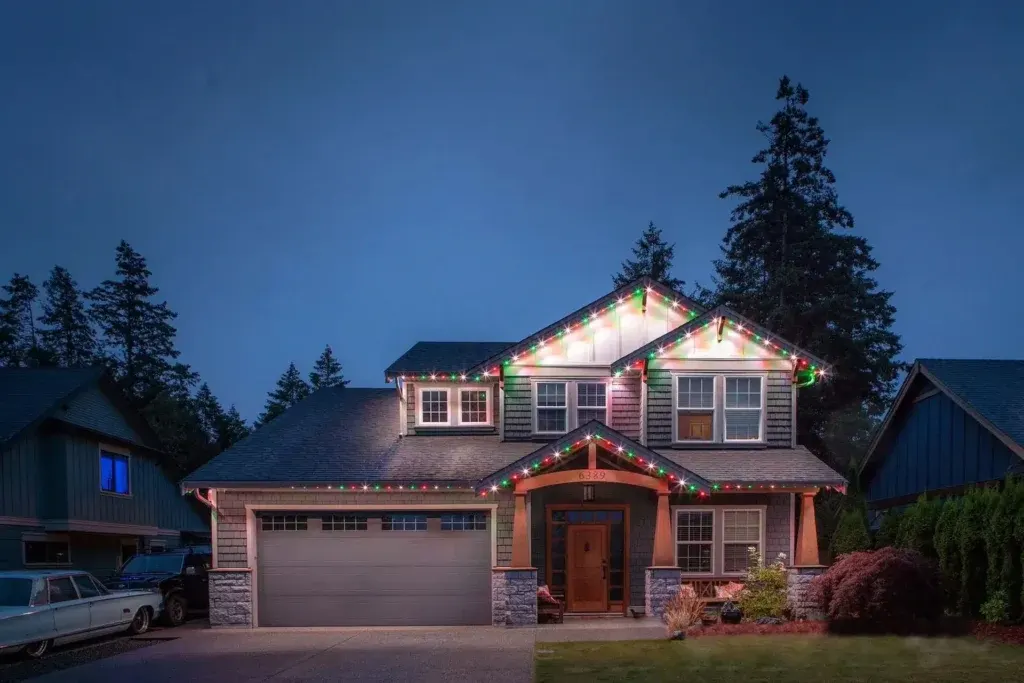
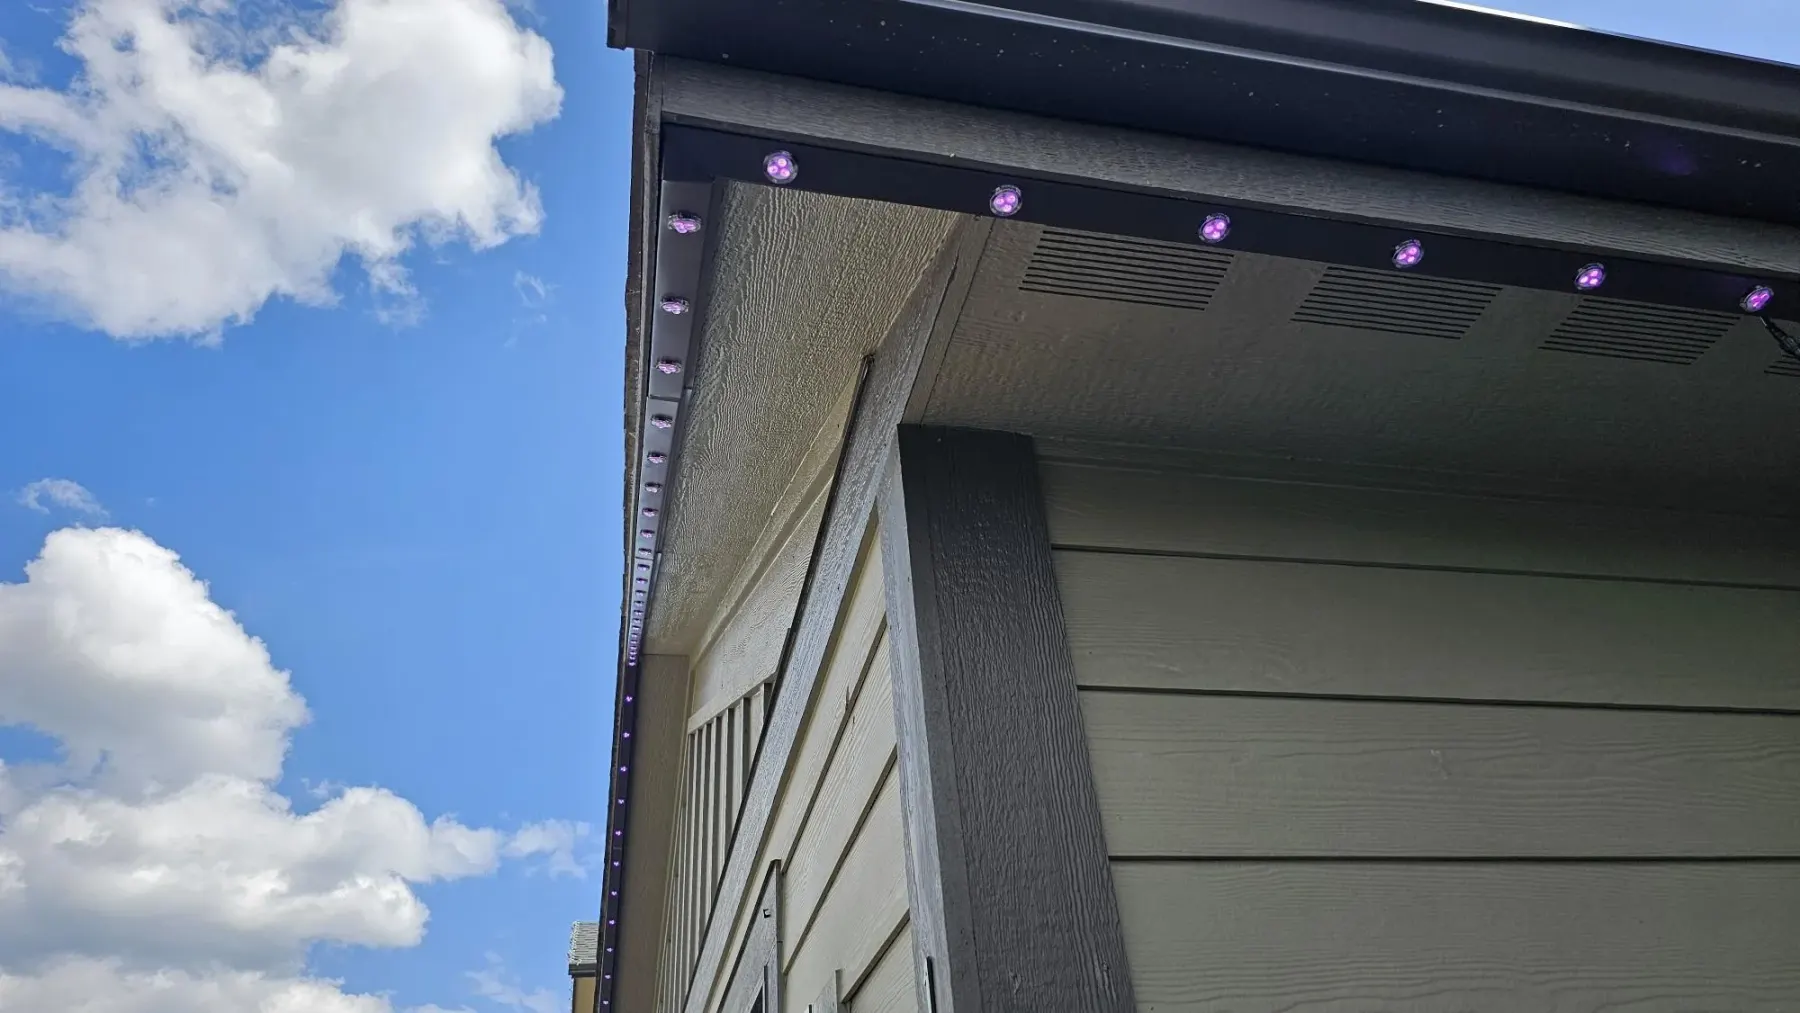
Hold each track piece flush to the soffit, right at the fascia edge, and drive the 5/8-inch colour-matched screws through the pre-drilled holes. Cut the last piece to length with a hacksaw or mitre saw. The channel hides the wire and sinks heat from the diodes.
Tip: Keep the pucks pointing down the face of the house, not straight out, so the light washes the wall.
04
Snap in the pucks and connect the run
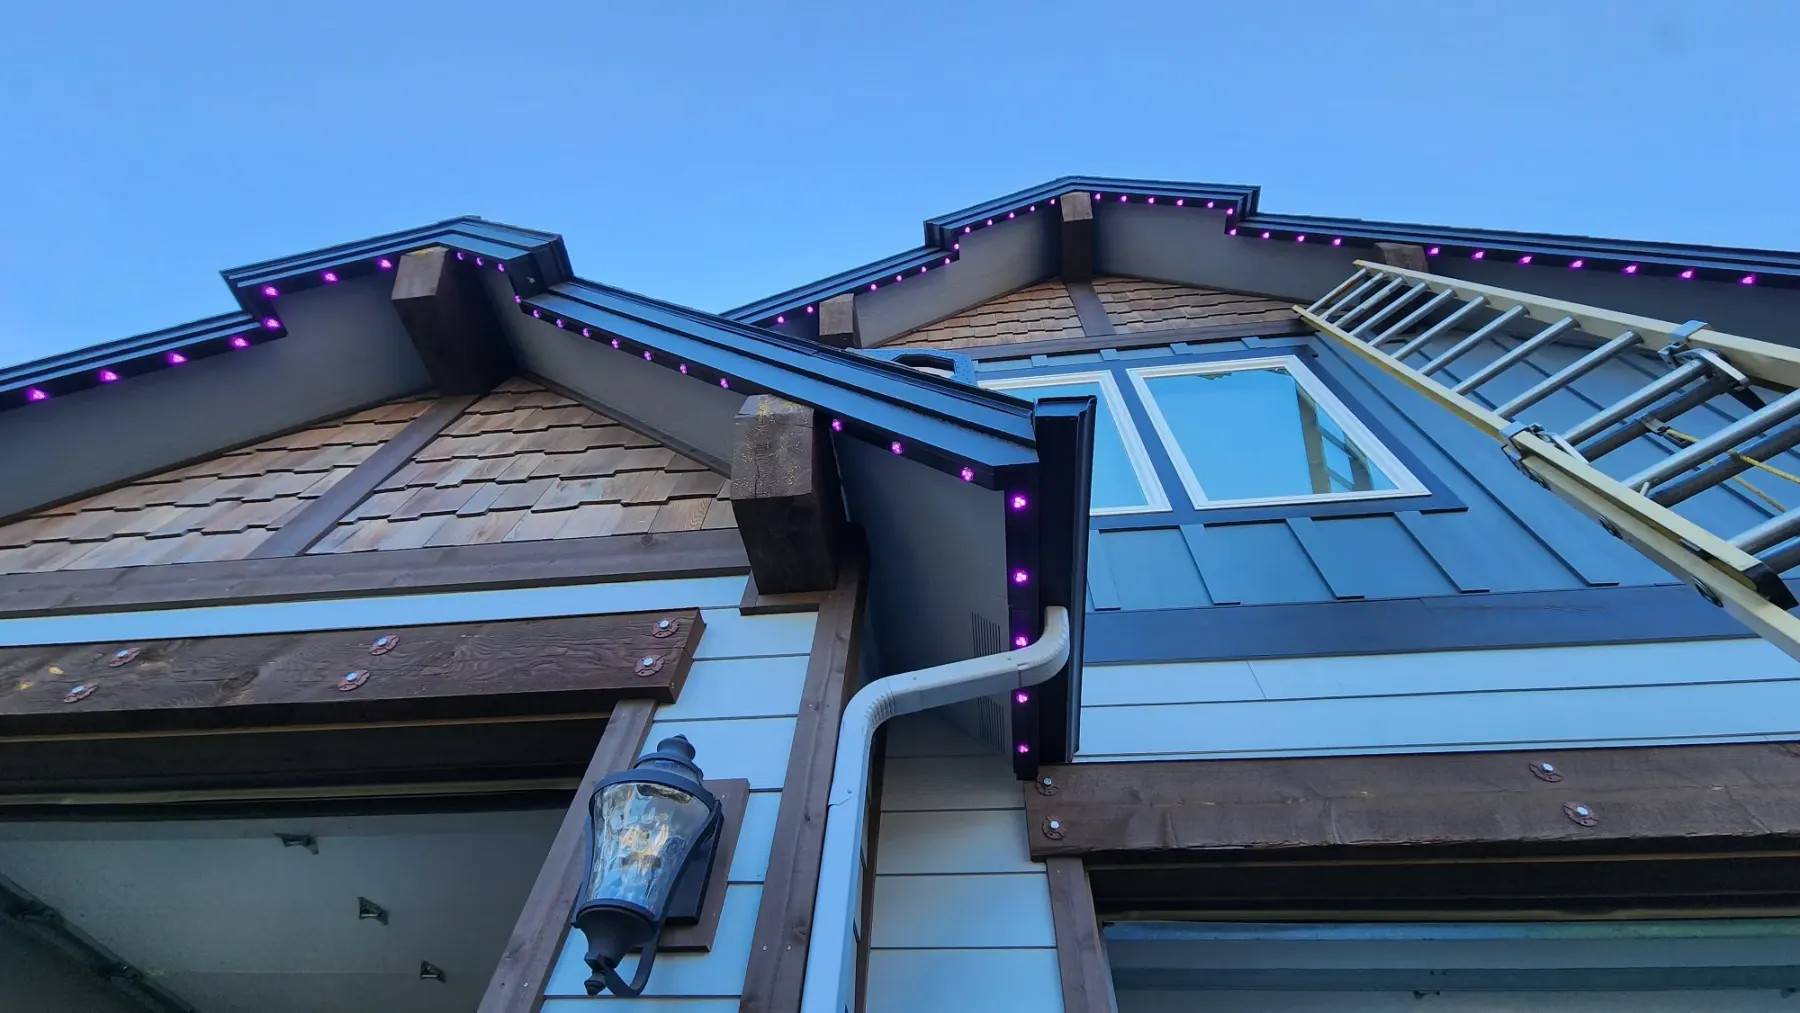
Press each 5-light strand into the track and join strands with the sealed twist connectors. Use the extension connectors to skip over garage doors, dormers and window bays so the spacing stays even. T-connectors let the run branch left and right from the controller.
Tip: Every kit at 100 ft and up includes power-injection T-connectors. Inject power every 120 lights or so to keep the far end bright.
05
Plug in
The 12V power supply plugs into an existing GFCI outdoor or garage receptacle. Because the whole system is CSA Class 2 low voltage, a plug-in install does not need an electrician or a permit in most municipalities. Fuses protect each output.
Tip: Want a hidden outlet in the soffit? That part is an electrician's job, and worth it on a front elevation.
06
Pair the app and pick a scene
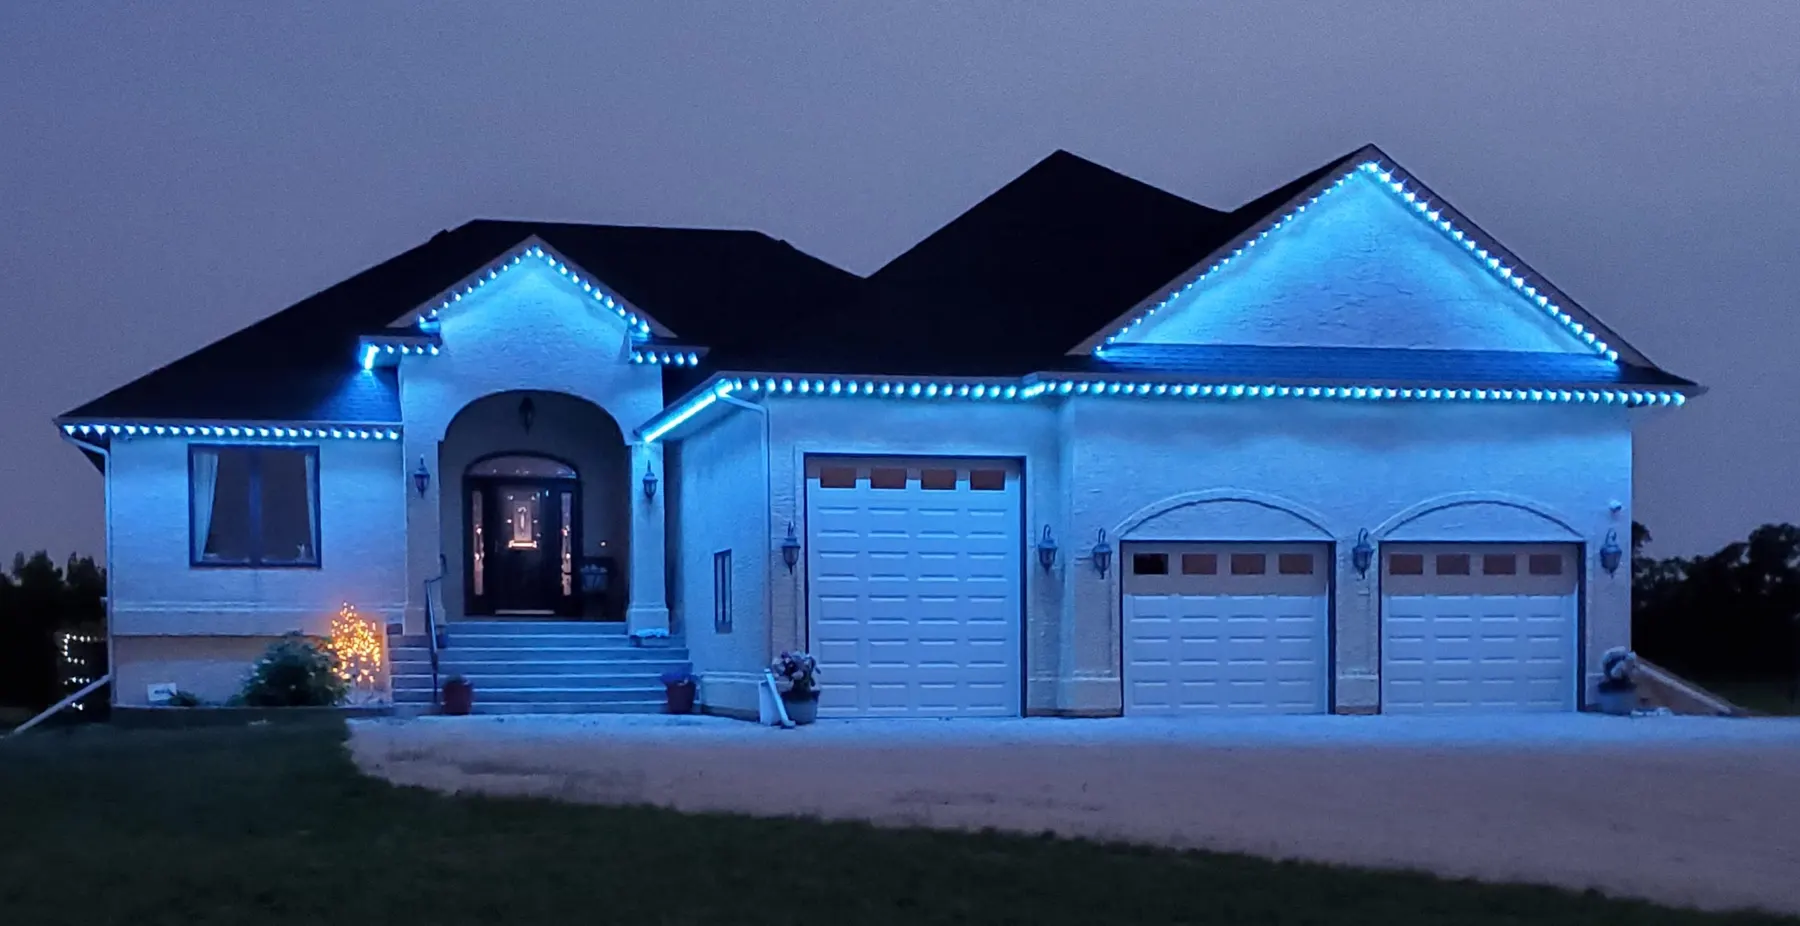
The controller joins your 2.4 GHz WiFi and the free WLED app takes over: 16 million colours, a true warm white channel, saved holiday scenes, sunset-to-midnight schedules, zones per elevation and Alexa or Google voice control. Scenes are stored on the controller, so they run even if the internet drops.
Tip: Set a warm white sunset schedule on day one. The holiday scenes are the fun part; the everyday glow is what you will actually use.